SSD1306 OLED Display
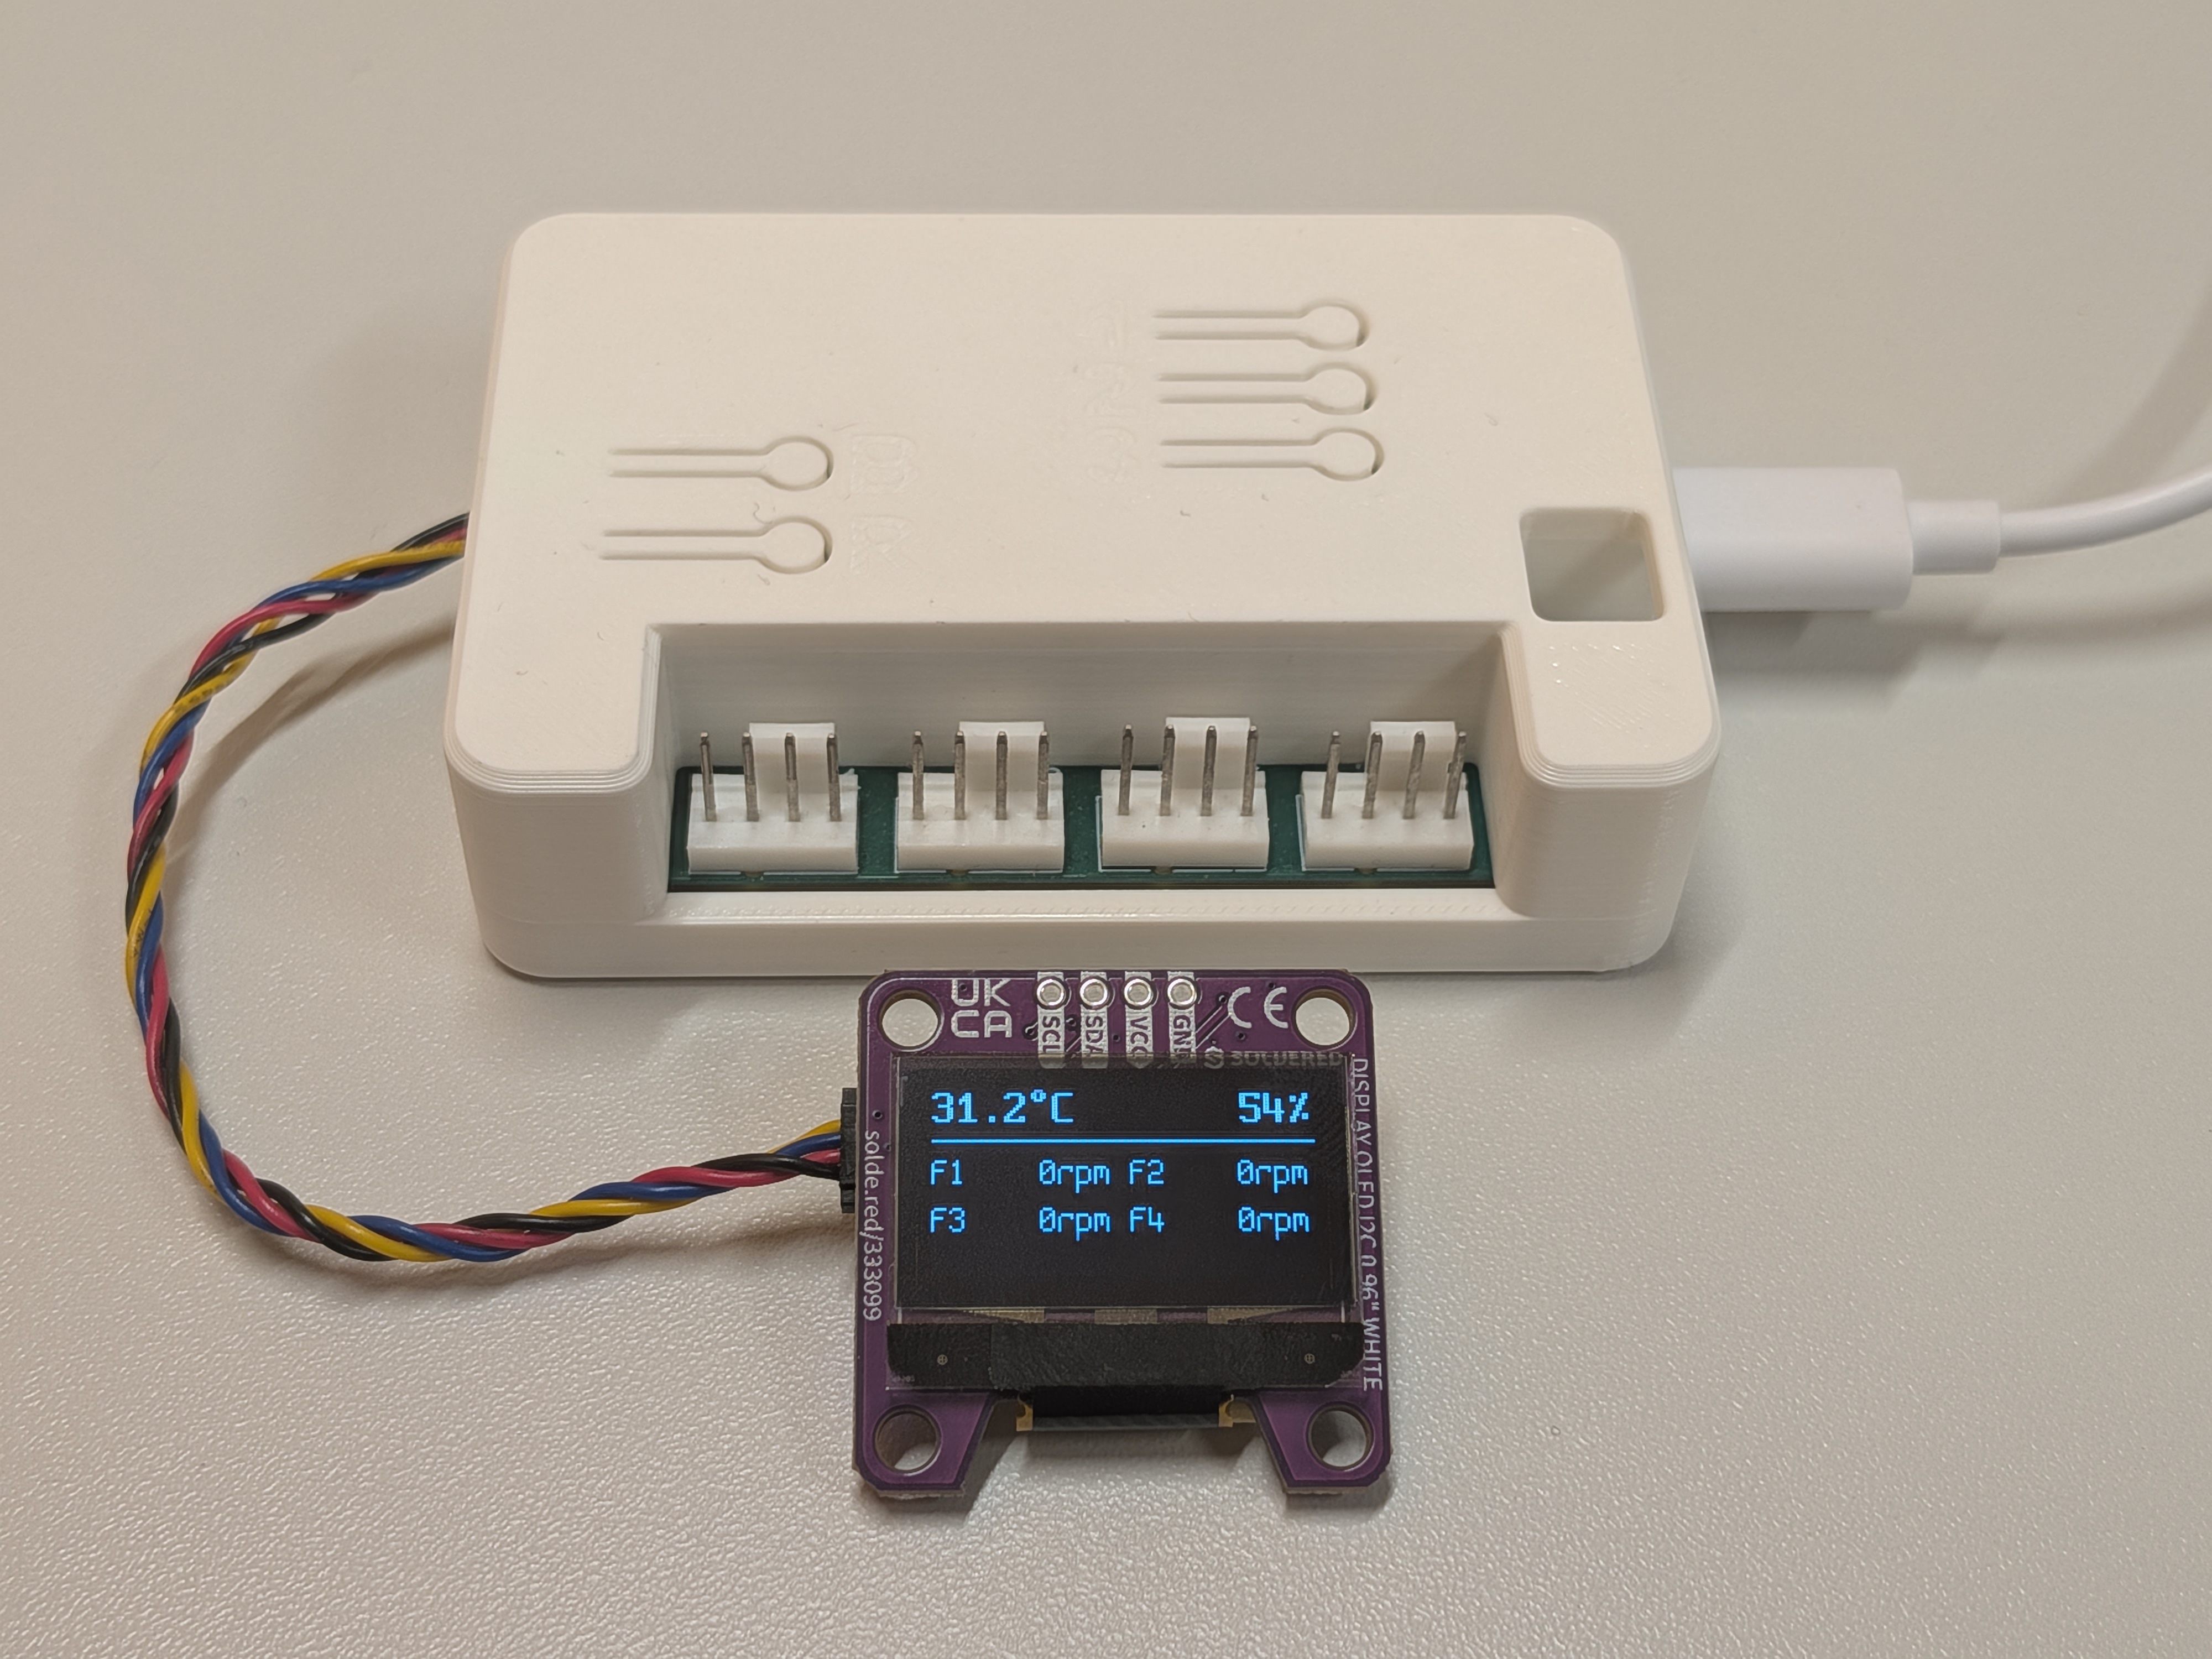
A small monochrome OLED that shows the onboard temperature and humidity plus all four fan RPMs, without opening Home Assistant. This example uses the Soldered 0.96” 128x64 OLED (SSD1306 controller, I2C address 0x3C, Qwiic connector on board), but any SSD1306 128x64 module works.
What it displays
Section titled “What it displays”The display is split into two zones:
- Top row: temperature (left) and humidity (right), read from the onboard HDC1080.
- Below a divider line: a 2x2 grid with the RPM of fans 1 to 4.
Values refresh once per second.
Add it to your config
Section titled “Add it to your config”Plug the display into the Qwiic connector, then include the module as a package:
packages: hardware: ... # your hardware-rev-*.yaml oled: url: https://github.com/zeroflow/wifi-fancontroller ref: main files: - modules/oled_128x64.yamlThe module pulls in everything it needs: two bitmap fonts and the display itself. No configuration variables are required.
Make it your own
Section titled “Make it your own”Because you pull the module in as a remote package, you do not edit its file directly. Instead, reach into the display by its id (oled) with !extend in your own config. Any key you set there replaces the module’s, so a fresh lambda gives you a completely custom screen while the fonts and the display setup stay in place.
For example, show each fan as a percentage instead of RPM. The fans use speed_count: 100, so id(fan1).speed is already a 0 to 100 value:
display: - id: !extend oled lambda: |- it.printf(0, 0, id(oled_font_md), TextAlign::TOP_LEFT, "%.1f°C", id(fancontroller_temperature).state); it.printf(127, 0, id(oled_font_md), TextAlign::TOP_RIGHT, "%.0f%%", id(fancontroller_humidity).state); it.line(0, 18, 127, 18); it.printf(0, 24, id(oled_font_sm), "F1 %3d%%", id(fan1).speed); it.printf(66, 24, id(oled_font_sm), "F2 %3d%%", id(fan2).speed); it.printf(0, 40, id(oled_font_sm), "F3 %3d%%", id(fan3).speed); it.printf(66, 40, id(oled_font_sm), "F4 %3d%%", id(fan4).speed);!extend replaces the whole lambda, so keep the header lines you still want. Every value comes from an id the hardware package already exposes, so you can print any sensor or fan the controller knows about. See the ESPHome display documentation for the full drawing API.
Recommended: raise the bus speed
Section titled “Recommended: raise the bus speed”The onboard HDC1080 and this display share one I2C bus, which runs at 50 kHz by default. That drives the SSD1306 correctly but refreshes the screen slowly. For a smooth update we recommend raising the bus to 400 kHz, which the SSD1306 and the HDC1080 both handle without trouble.
The module does not change the speed on its own, so add the override to your own config. bus_a is defined by the hardware package, so reach into it by id with !extend:
i2c: - id: !extend bus_a frequency: 400kHzHow it works
Section titled “How it works”Text is drawn with two Spleen bitmap fonts (6x12 and 8x16) fetched at build time. The layout is a lambda that positions the temperature and humidity on the header row and the four fan RPMs in the grid below. To change what it shows, override this lambda as described in Make it your own:
display: - platform: ssd1306_i2c id: oled i2c_id: bus_a model: "SSD1306 128x64" address: 0x3C update_interval: 1s lambda: |- it.printf(0, 0, id(oled_font_md), TextAlign::TOP_LEFT, "%.1f°C", id(fancontroller_temperature).state); it.printf(127, 0, id(oled_font_md), TextAlign::TOP_RIGHT, "%.0f%%", id(fancontroller_humidity).state); it.line(0, 18, 127, 18); it.printf(0, 24, id(oled_font_sm), "F1 %4.0frpm", id(fan1_speed).state); it.printf(66, 24, id(oled_font_sm), "F2 %4.0frpm", id(fan2_speed).state); it.printf(0, 40, id(oled_font_sm), "F3 %4.0frpm", id(fan3_speed).state); it.printf(66, 40, id(oled_font_sm), "F4 %4.0frpm", id(fan4_speed).state);