DS2484 I2C-to-1-Wire Bridge
Dieser Inhalt ist noch nicht in deiner Sprache verfügbar.
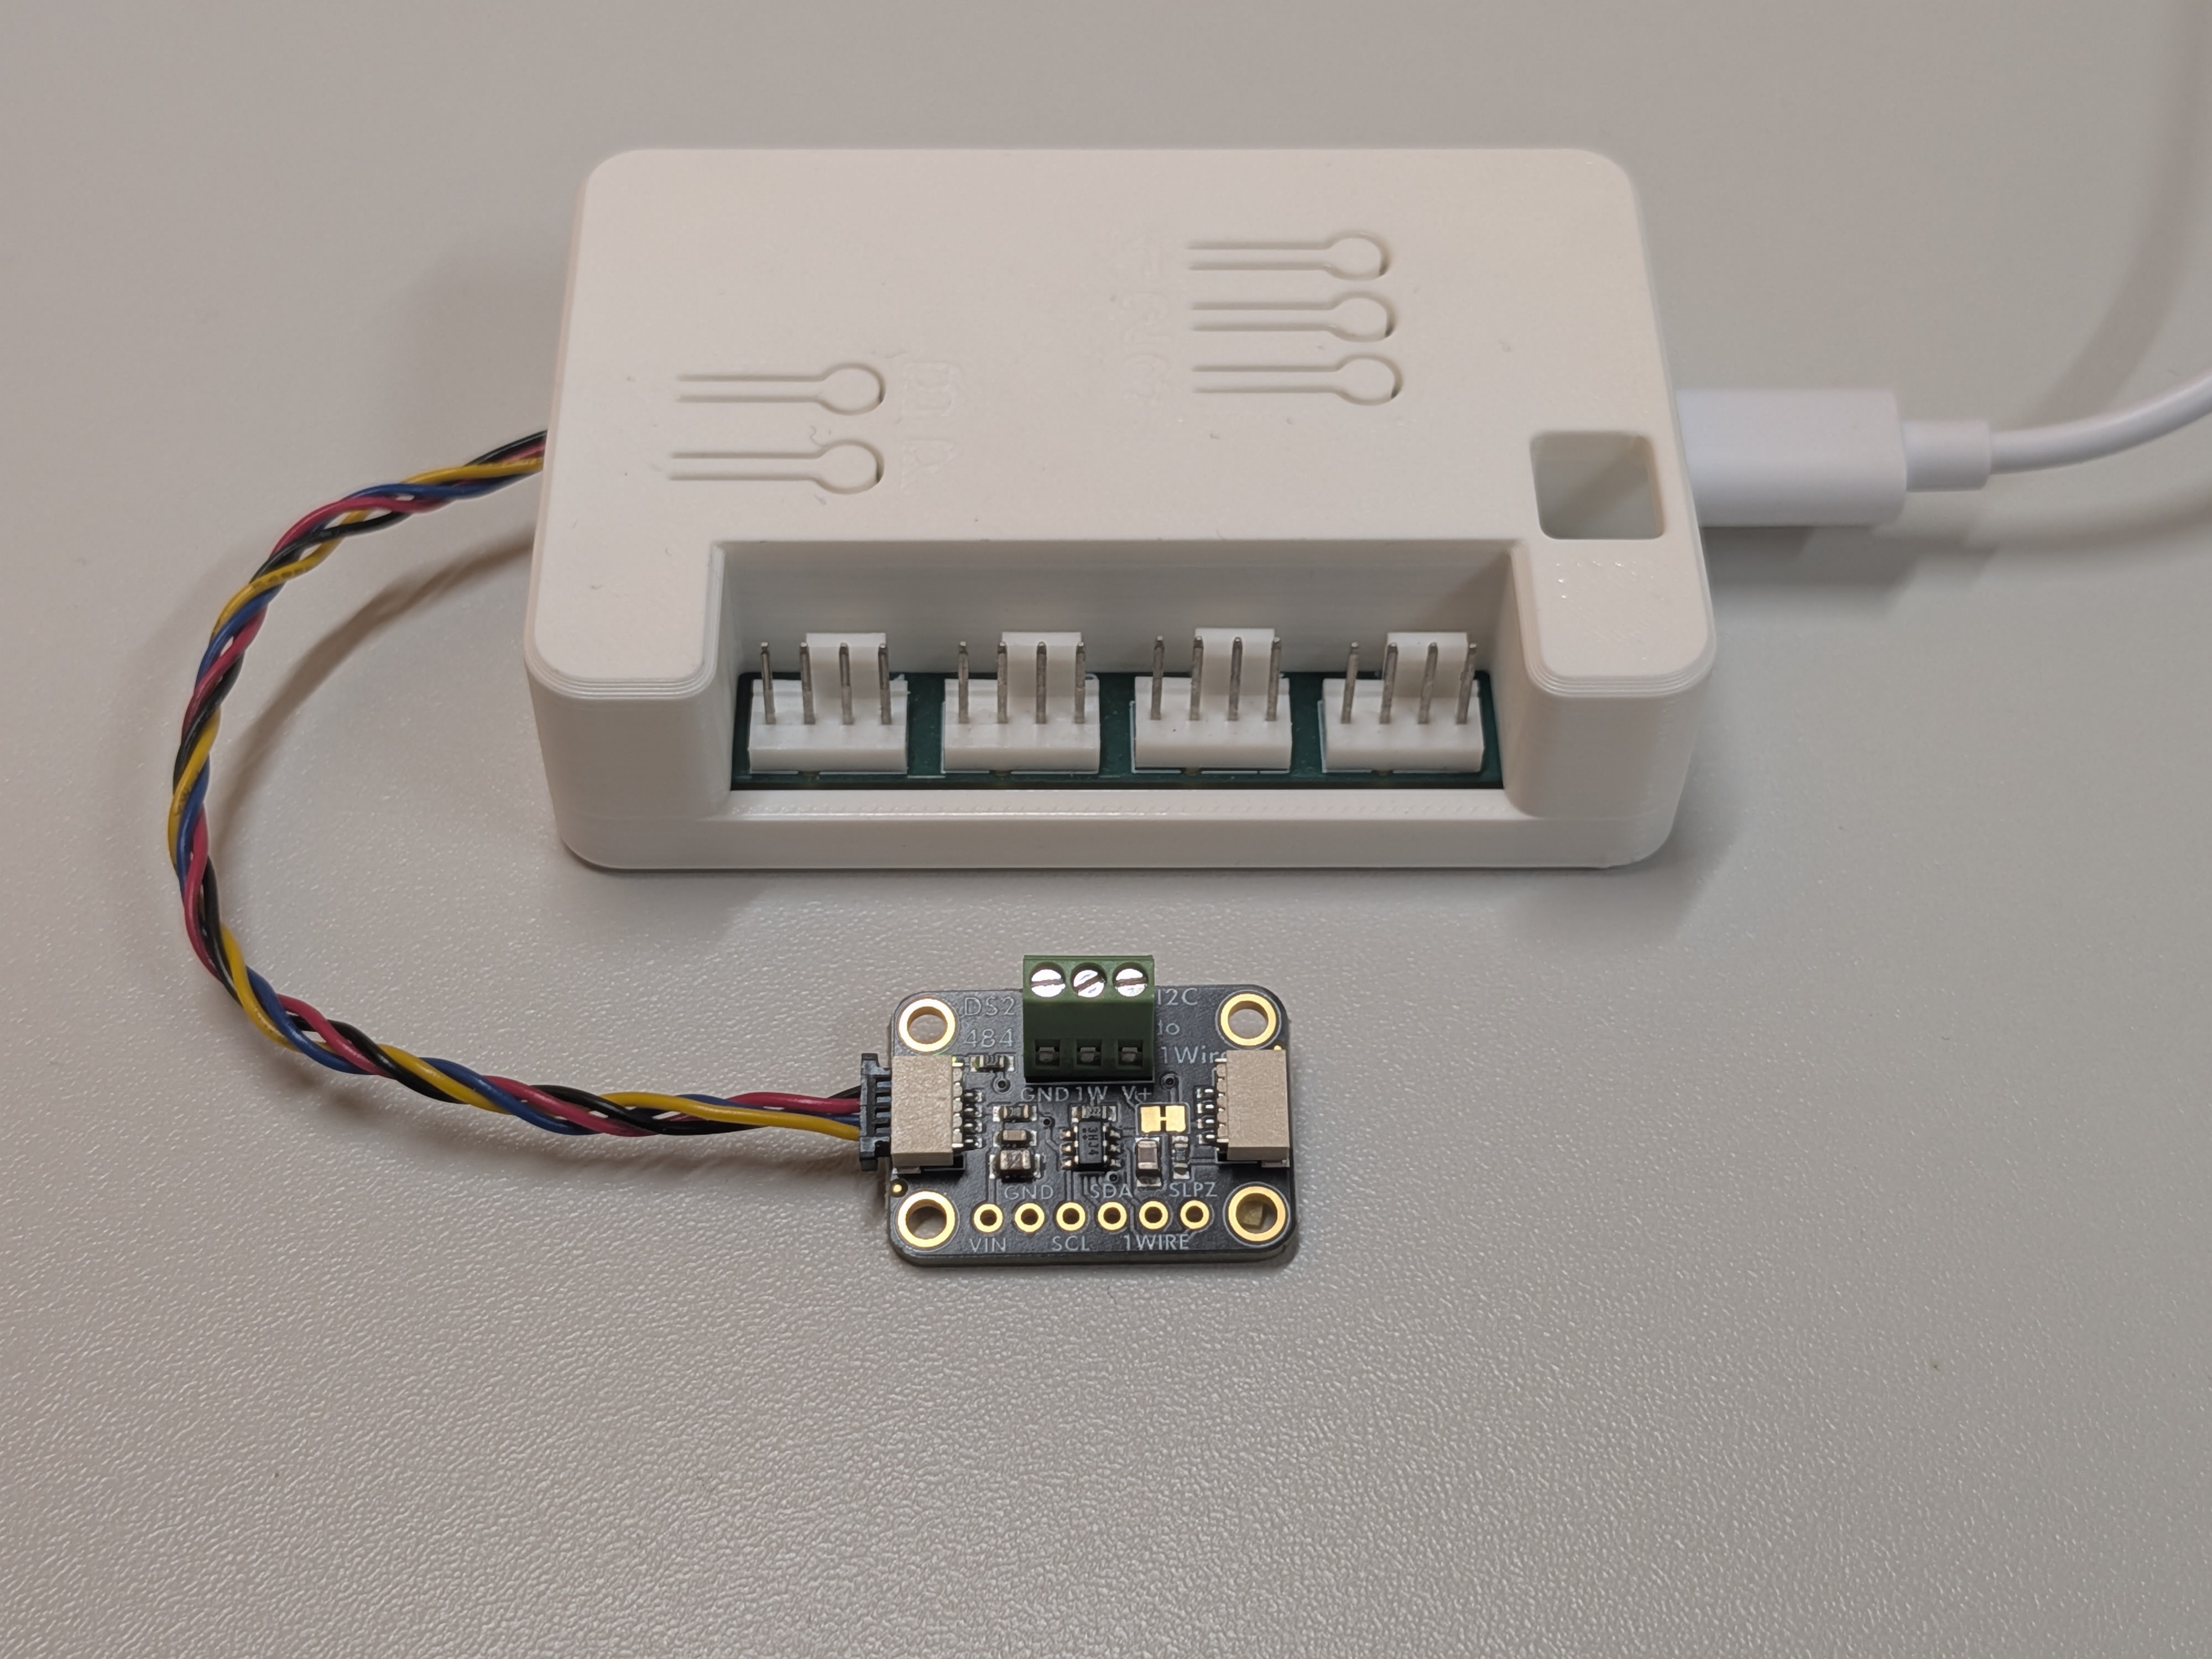
The DS2484 gives the controller a proper hardware 1-Wire bus, so you can read Dallas devices such as the DS18B20 waterproof temperature probe. This example uses the Adafruit DS2484 I2C-to-1-Wire bridge (I2C address 0x18, Qwiic connector on board).
Why a bridge instead of a GPIO
Section titled “Why a bridge instead of a GPIO”ESPHome can bit-bang 1-Wire on a plain GPIO, but the protocol is timing-critical and WiFi interrupts can corrupt a read. The DS2484 runs the 1-Wire timing in dedicated hardware and talks to the ESP32 over I2C, which is far more reliable, especially over longer cable runs. Plug it into the Qwiic connector and it shares the same bus as the onboard HDC1080.
Add it to your config
Section titled “Add it to your config”Plug the bridge into the Qwiic connector, then include the module as a package:
packages: hardware: ... # your hardware-rev-*.yaml ds2484: url: https://github.com/zeroflow/wifi-fancontroller ref: main files: - modules/ds2484_onewire.yamlThat is enough to bring up the bus. The module also adds three diagnostic helpers to Home Assistant so you can find your sensors:
| Entity | Type | What it shows |
|---|---|---|
| 1-Wire Devices | text sensor | Comma-separated ROM addresses currently on the bus |
| 1-Wire Device Count | sensor | How many devices were found |
| 1-Wire Rescan | button | Re-scans the bus on demand |
Find your sensors
Section titled “Find your sensors”Every Dallas device has a unique 64-bit ROM address burned in at the factory. You need that address to read the device, and the helpers above are there to hand it to you:
-
Wire your DS18B20 (or other 1-Wire device) to the bridge and power the controller on.
-
In Home Assistant, press the 1-Wire Rescan button.
-
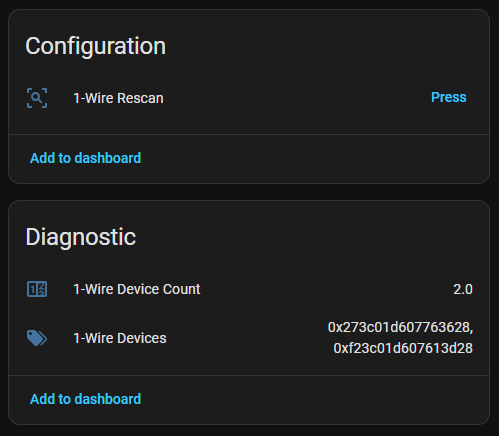
Read the addresses off the 1-Wire Devices sensor. With one DS18B20 connected it shows something like:
0x28ff641f7016034c
1-Wire Device Count confirms how many devices the bus sees, which is a quick sanity check that all your sensors are wired correctly.
Add your sensors by address
Section titled “Add your sensors by address”Once you have the address, add a dallas_temp sensor in your own config (not in the module). Point it at the bus the module created with one_wire_id: ow_bus and set the address you just read:
sensor: - platform: dallas_temp one_wire_id: ow_bus address: 0x28ff641f7016034c name: "Water Temperature" update_interval: 30sThis is a plain list entry, so it simply merges with the module. You do not need !extend for it. Repeat the block for each additional sensor with its own address. If you run a single device, you may omit address: and ESPHome uses the only one it finds, but setting it explicitly is safer once more than one device might ever be on the bus.
A worked two-sensor example
Section titled “A worked two-sensor example”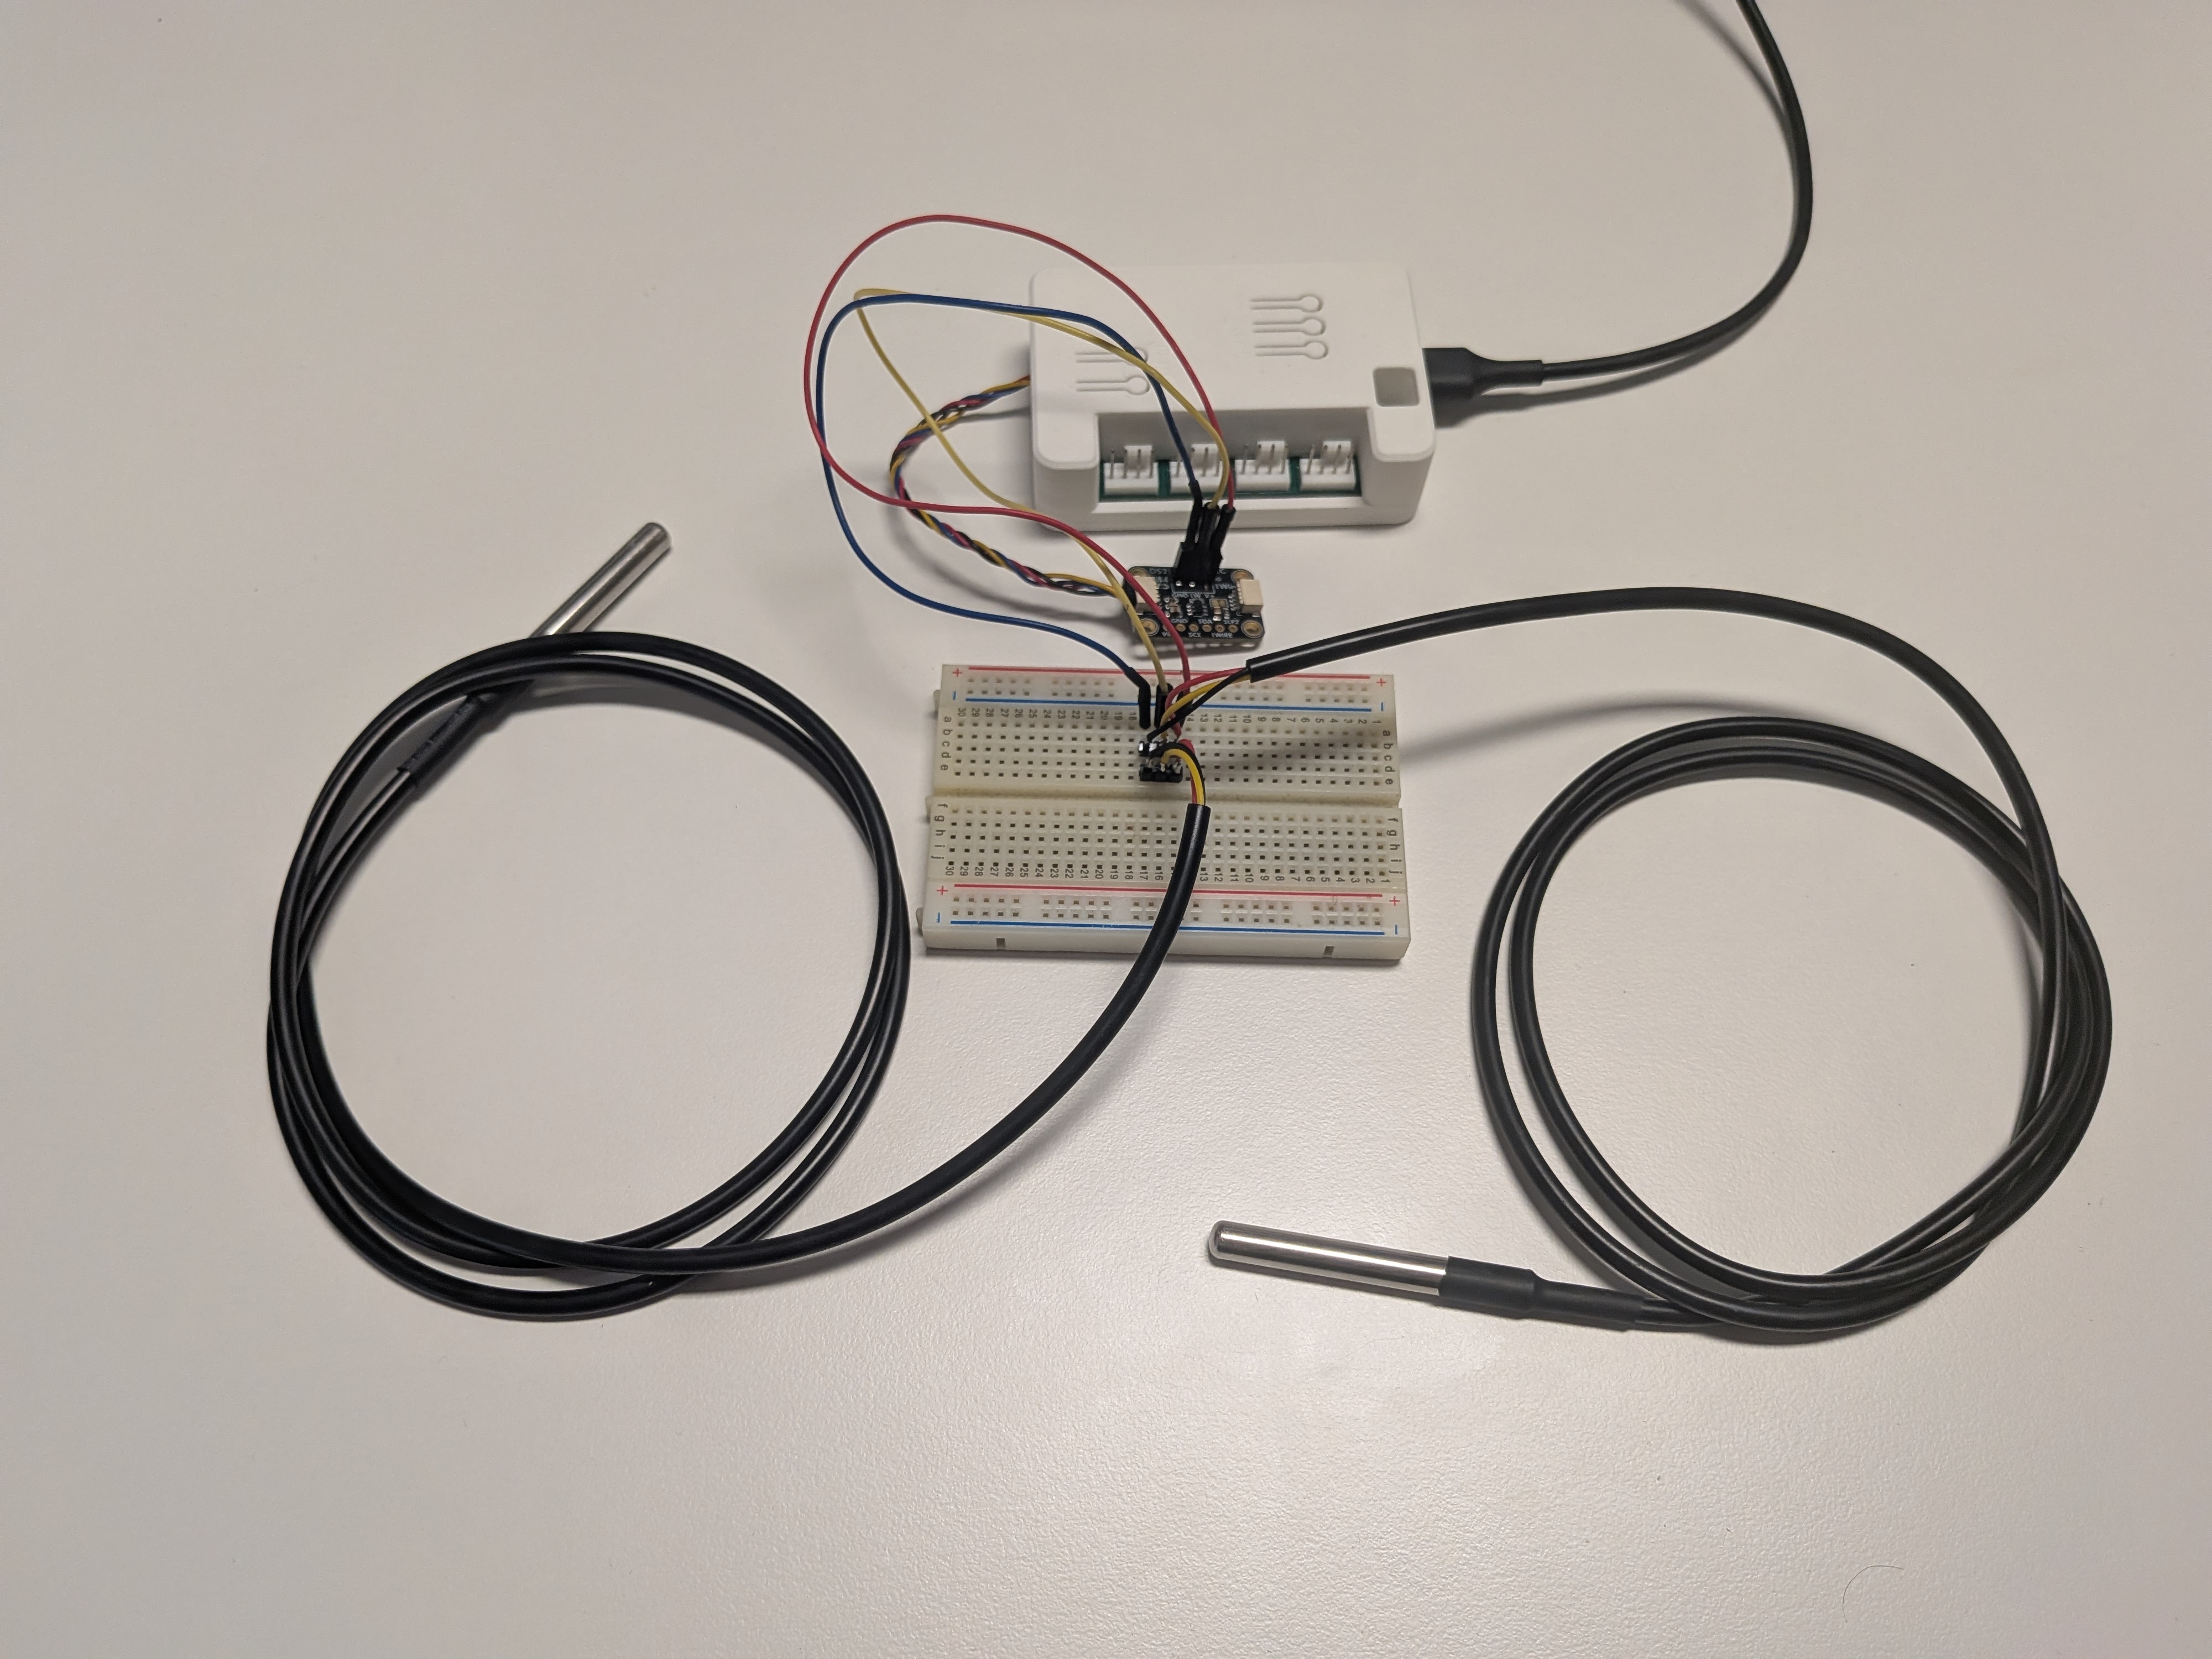
This is a real, bench-tested setup with two DS18B20 probes on the same bus. Each one was identified with the one-at-a-time method above, so the names match the physical probes:
sensor: - platform: dallas_temp one_wire_id: ow_bus address: 0xf23c01d607613d28 name: "Right Sensor" update_interval: 30s - platform: dallas_temp one_wire_id: ow_bus address: 0x273c01d607763628 name: "Left Sensor" update_interval: 30sBoth values are the exact strings the 1-Wire Devices helper reported (the screenshot near the top shows the same two addresses). Because each dallas_temp block pins its own address, the two entities stay tied to their probes even if you unplug them, replug them, or change the wiring order.
Configuration variables
Section titled “Configuration variables”Set these under the package’s files: entry with vars: (see the full example below), or as top-level substitutions: in your config.
| Variable | Default | Purpose |
|---|---|---|
ow_prefix | 1-Wire | Prefix for the helper entity names, for example Aquarium Devices |
ow_update_interval | 60s | How often the helper text/count sensors refresh |
IDs you can override
Section titled “IDs you can override”These are the component IDs the module defines. They are the surface you can reach with !extend and !remove from your own config.
| ID | Type | Notes |
|---|---|---|
ow_bus | one_wire (ds2484) | The 1-Wire bus. Attach dallas_temp sensors with one_wire_id: ow_bus. |
ow_device_list | text_sensor | The “Devices” helper |
ow_device_count | sensor | The “Device Count” helper |
ow_rescan | button | The “Rescan” helper |
For example, to drop the diagnostic helpers once your sensors are configured and you no longer need them:
text_sensor: - id: !remove ow_device_listsensor: - id: !remove ow_device_countOr to change the bus, for instance a board that sits at a different I2C address:
one_wire: - id: !extend ow_bus address: 0x19Bus and prerequisites
Section titled “Bus and prerequisites”- Requires the hardware package (it provides the shared I2C bus
bus_a). This module is not standalone. - I2C address:
0x18, fixed by the module. The Adafruit board ships at0x18. If your board is jumpered to a different address, override it with!extend ow_busas shown above. - Bus speed: this module does not change the shared bus speed. The DS2484 works fine at the default, and the bus is shared with the onboard HDC1080 and any other Qwiic device. If you want a faster bus for another module, raise it yourself with
!extend bus_a. See Combining Expansion Modules.
Web UI grouping
Section titled “Web UI grouping”This block goes in your own configuration, not in the module. See why the assignment lives in the consuming config for the reason. version: 3 is what makes entity grouping work at all; without it, entity grouping has no effect.
web_server:  version: 3  sorting_groups:    - id: grp_ds2484_onewire      name: "1-Wire Bus"      sorting_weight: 330
button:  - id: !extend ow_rescan    web_server:      sorting_group_id: grp_ds2484_onewire      sorting_weight: 10
text_sensor:  - id: !extend ow_device_list    web_server:      sorting_group_id: grp_ds2484_onewire      sorting_weight: 900
sensor:  - id: !extend ow_device_count    web_server:      sorting_group_id: grp_ds2484_onewire      sorting_weight: 910
The group id is fixed rather than built from ow_prefix at config time. ow_prefix is a display name whose default value, 1-Wire, contains a hyphen and cannot appear in an ESPHome id, and this module hard-codes its bus id (ow_bus) and I2C address (0x18), so a second instance is not a supported configuration for it in the first place.
Full example
Section titled “Full example”A complete, compilable config: the hardware package, this module with a renamed helper prefix, and one DS18B20 read by address.
substitutions:  wifi_ssid: "YourNetwork"  wifi_password: "YourPassword"
packages:  hardware:    url: https://github.com/zeroflow/wifi-fancontroller    ref: main    files: [hardware-rev-3.1.yaml]  ds2484:    url: https://github.com/zeroflow/wifi-fancontroller    ref: main    files:      - path: modules/ds2484_onewire.yaml        vars:          ow_prefix: "Aquarium"          ow_update_interval: "60s"
esphome:  name: my-fancontroller  friendly_name: My Fan Controller
esp32:  board: esp32-s2-saola-1  framework:    type: arduino
logger:api:ota:  - platform: esphomewifi:  ssid: ${wifi_ssid}  password: ${wifi_password}  ap:    ssid: "Fancontroller Fallback"captive_portal:
# Your own sensor, added by the address the "Aquarium Devices" helper reports.sensor:  - platform: dallas_temp    one_wire_id: ow_bus    address: 0x28ff641f7016034c    name: "Water Temperature"    update_interval: 30s